Maybe A Music Hall
Posted on: February 15, 2017 /
Categories: Builds
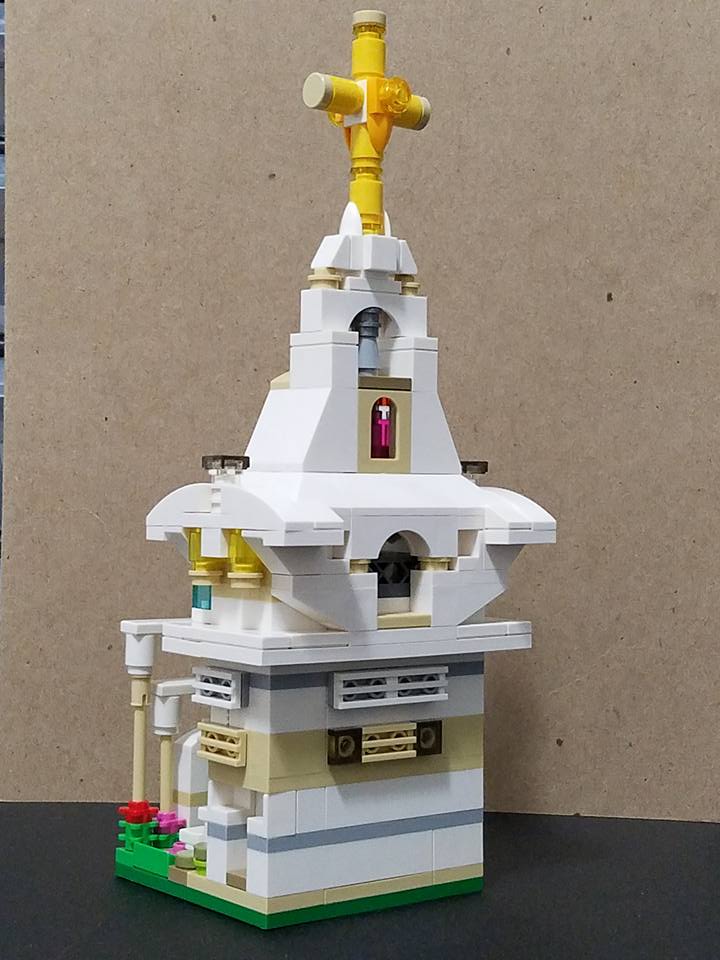
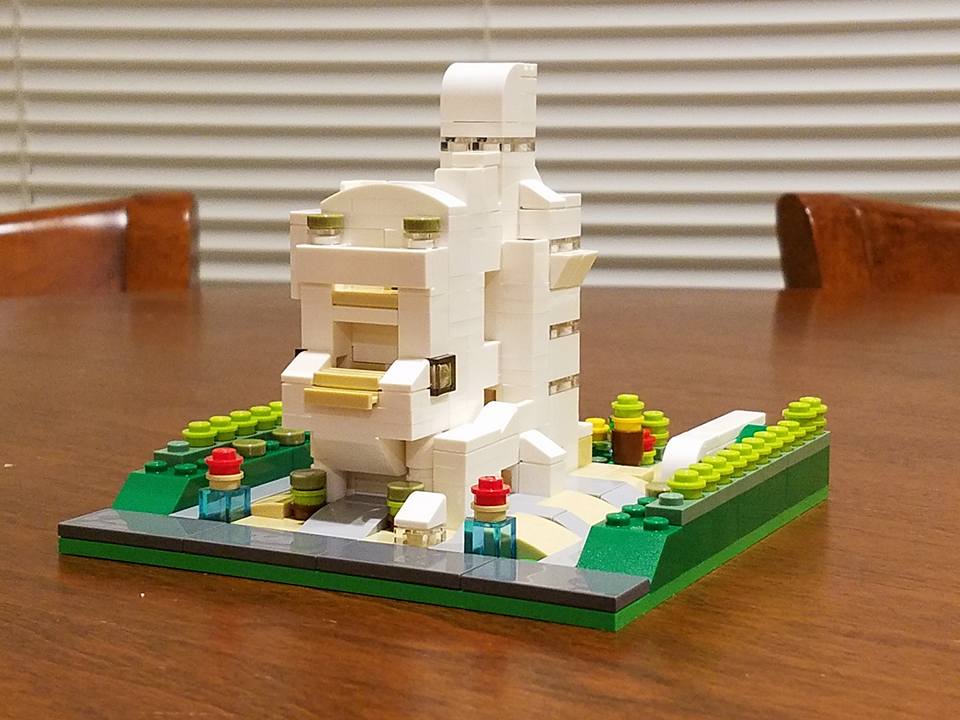
The front of this reminds me of what might be a music hall. Or could be a owned by a religious cult, who knows.
Archive for : February, 2017
The front of this reminds me of what might be a music hall. Or could be a owned by a religious cult, who knows.
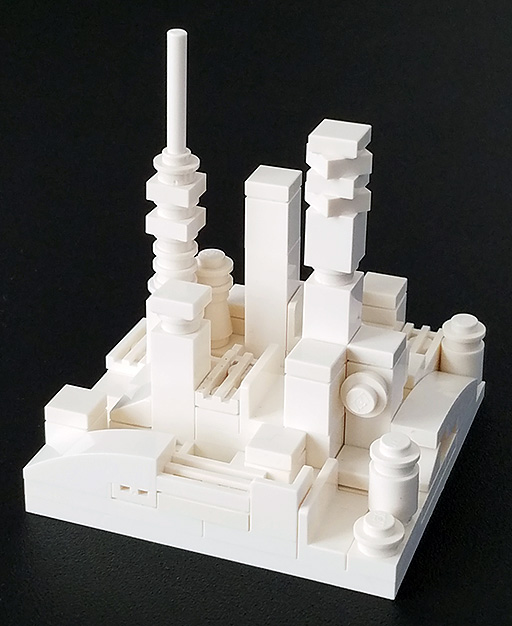
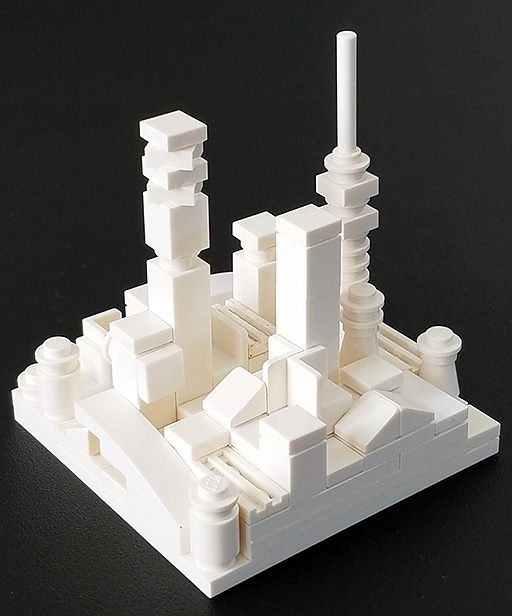
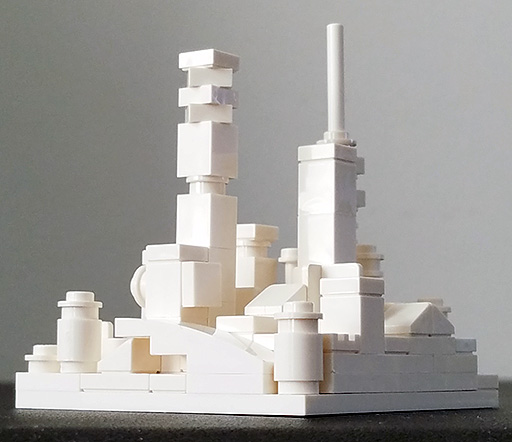
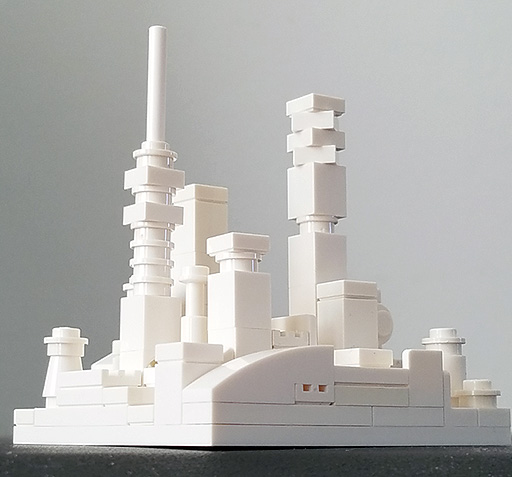
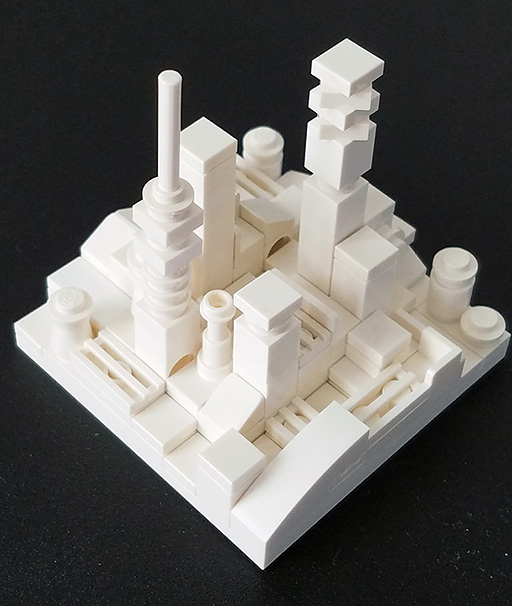
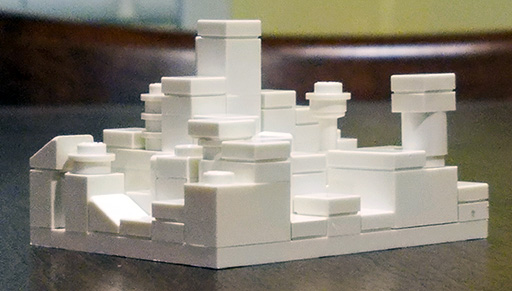
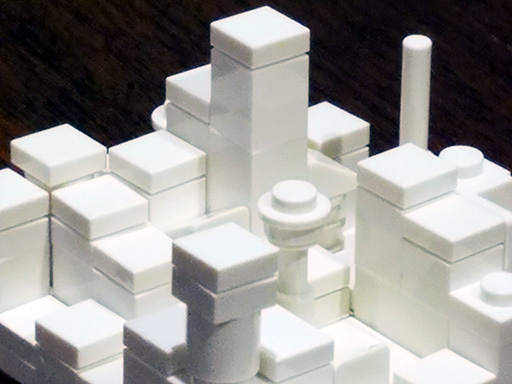
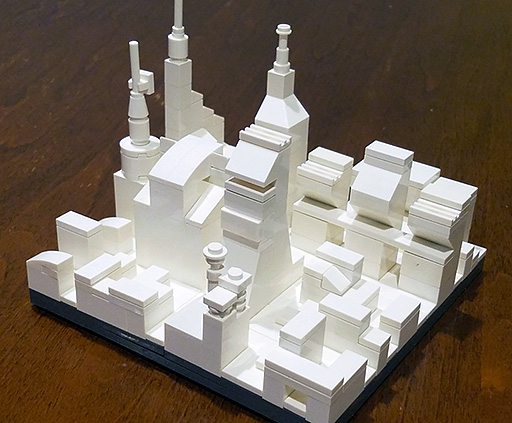
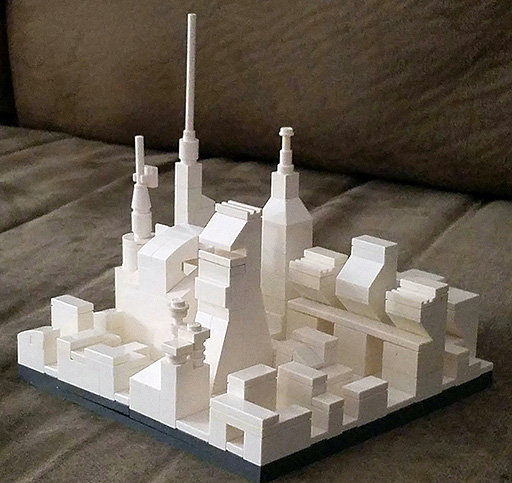
This turned out a much more satisfying micro-city than the first test. I was able to get the feel of a viable city with an interesting skyline and ultra-micro features.
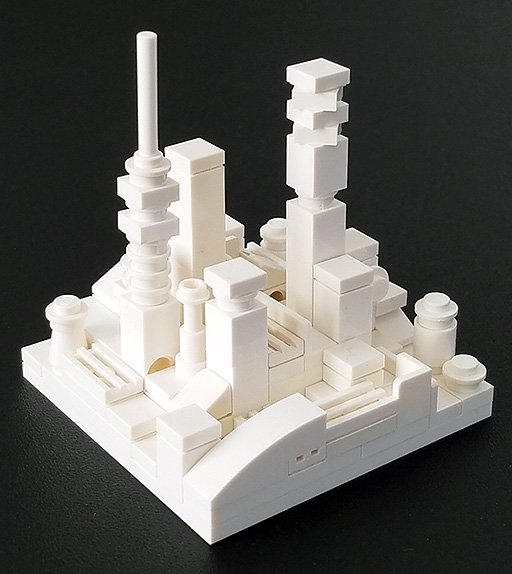
This is just about the smallest scale possible to represent real-world objects that would be massive in scale 1:1. This is a city built on top of an 8×8 plate.
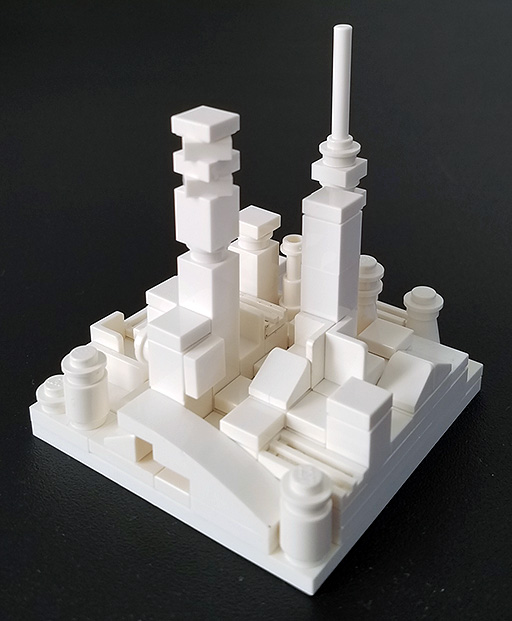
I really like the LEGO panel plates ad they offer added micro-scale variety for representing tin structures.
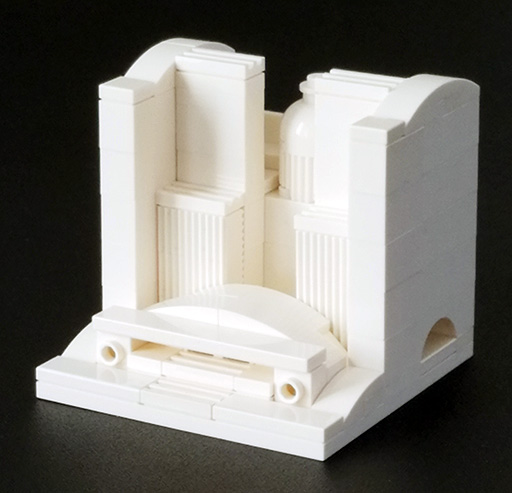
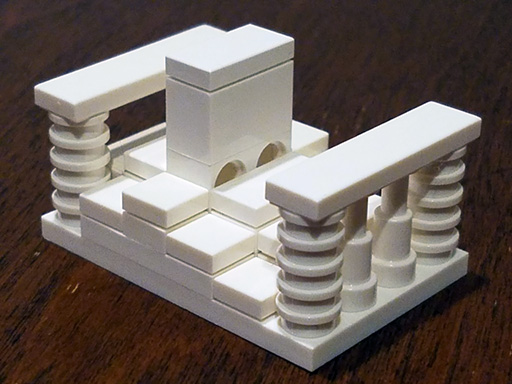
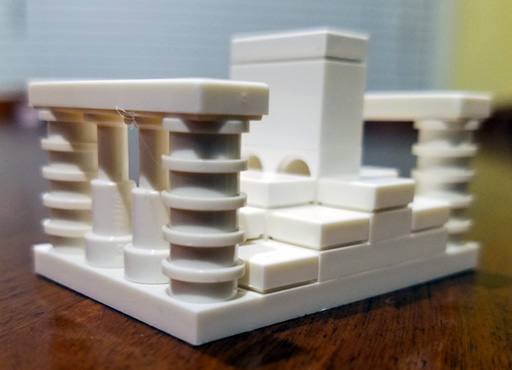
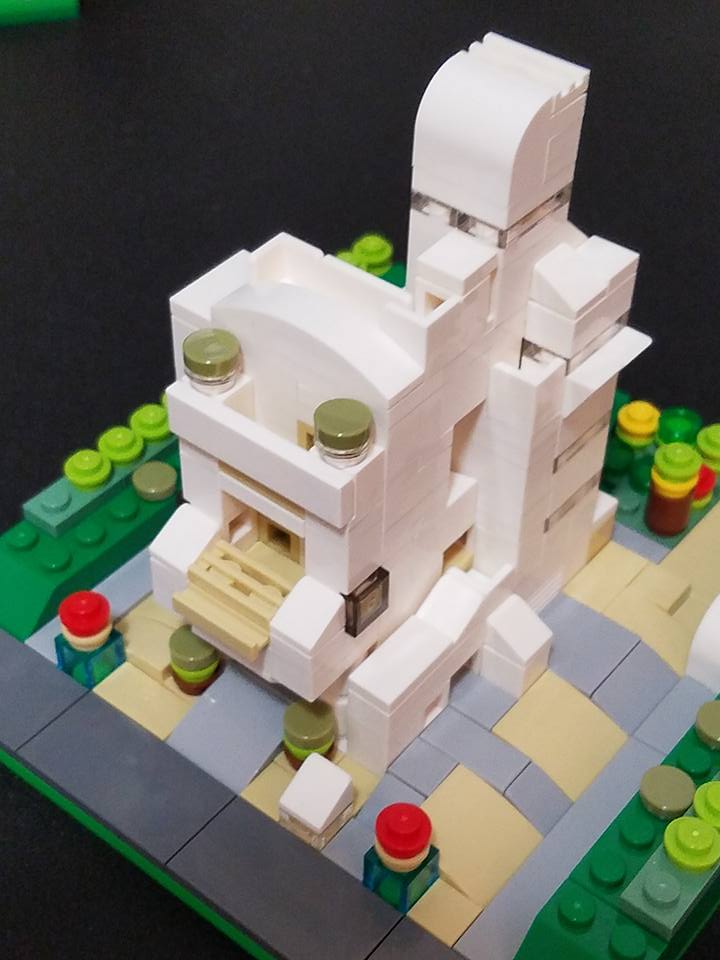
I’m not quite sure what this was supposed to be other than me looking at a Technic-hole brick and thinking I could create the appearance of very super-micro arches by blocking the bottom 1/2 of the brick. Ended up with a micro Greek pillar building in the end. Will play with this method again soon.
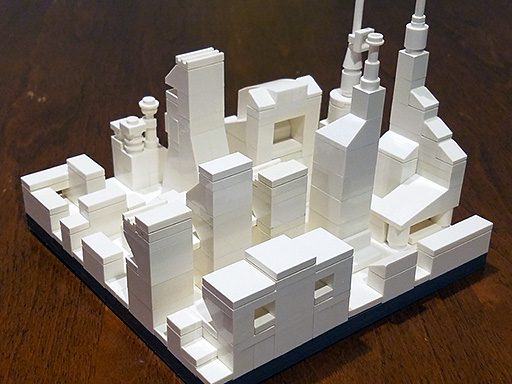
As for this other build, it’s just my first test at doing a ultra micro tiny city. It’s a little basic, nothing special, my next attempt will be more interesting.
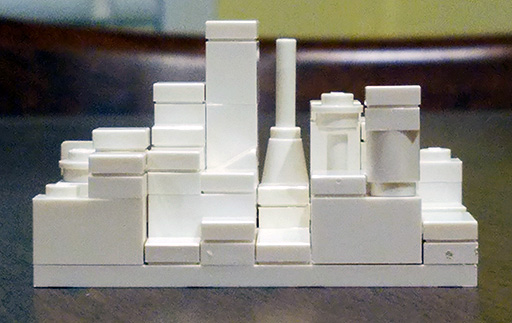
First city-like build, not really planned. It’s a little inconsistent, I was just playing with building shapes.
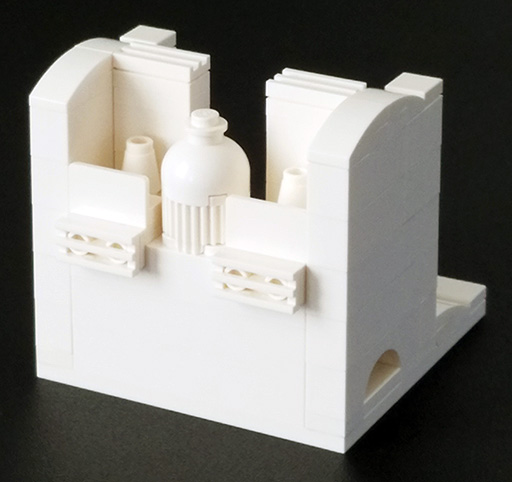
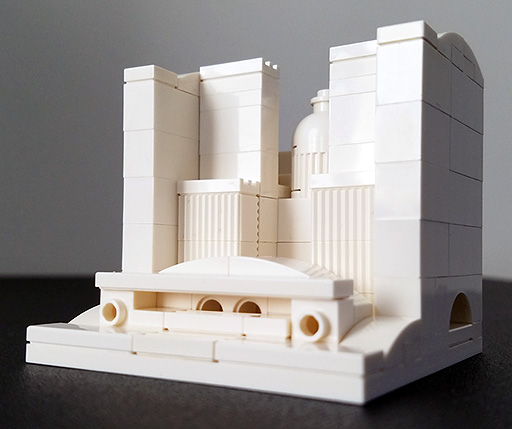
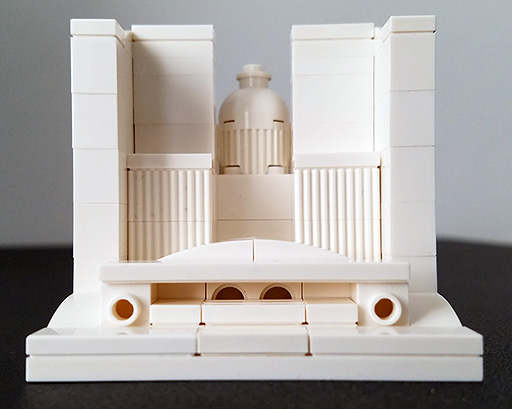
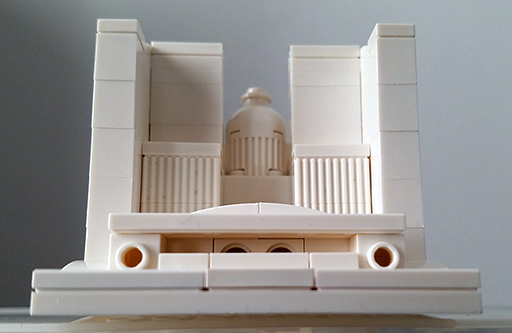
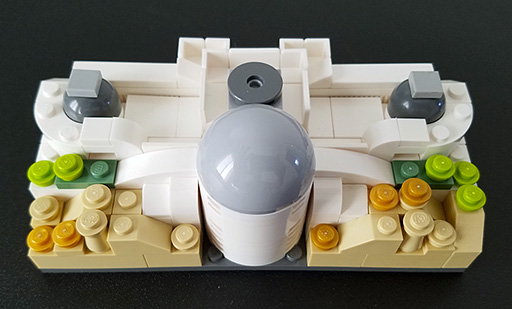
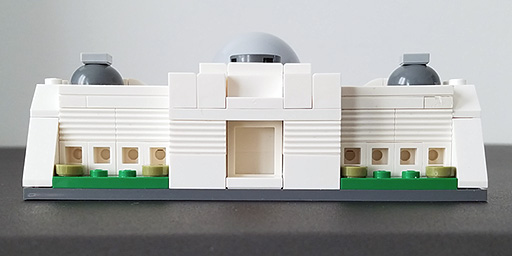
While planning & waiting for part orders on the larger build, I put together a quick micro-build version of Griffith Observatory (minus the landscape & right cafe/deck area). Seemed to turn out pretty well and the frontside-top more closely resembles the real building than the larger model I’m putting together.
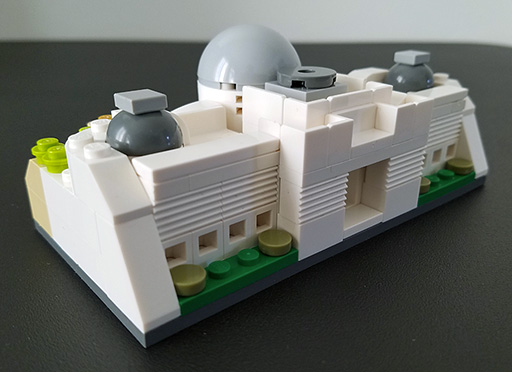
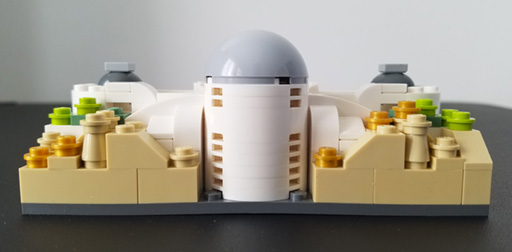

I liked the challenge of the micro-scale on this one, that scale seems to suit my preferences the most.
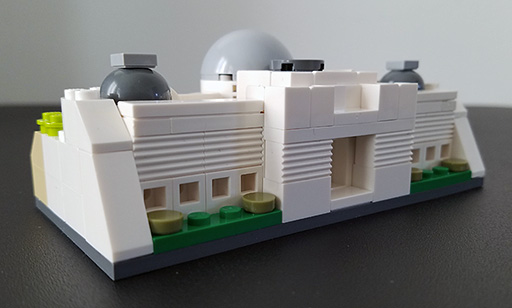
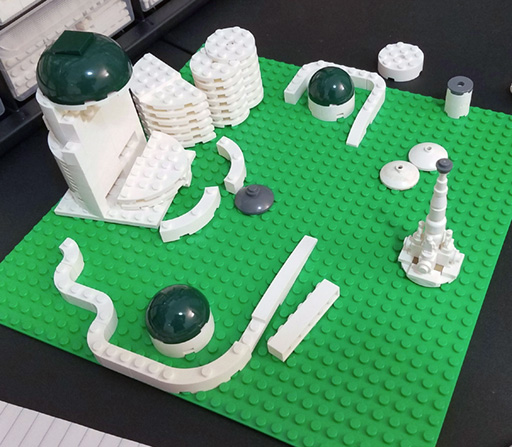
This is my initial build of Griffith Observatory in Los Angeles, it’s still in progress. The goal here was to do a medium size (non-micro) build – basically in-between a micro-scale and minifies-scale. I started out by planning the plate size needed and purchased a few of the rarer parts I didn’t have on-hand (mostly the tomes and corner curves).
Because the building is on a hillside with the back and side of the architecture taking up a lot of vertical height, I knew this build would take a while and need a lot of filler pieces. I wasn’t sure (and still not sure) if I’ll have enough filler pieces without making it bulkier than needed. Filler pieces are basically the 2×4, 2×6 and 2×8 bricks of lower-value colors (dark gray, brown & the misc color large bricks that can be gotten from the LEGO in-store Pick-a-Brick wall). Nobody can see the filler pieces so it doesn’t matter what color they are but the color of the ones that end up on the outside do matter – those will be a variety of tan, browns and yellows.
In the real building, the large dome is proportionally larger than the domes in this build but it’s close enough. The curves for the right and left slopes and stairs on the building will be tough to do – and require lot of corner curves in 2 sizes, plus a lot of sloped and curved slope bricks.
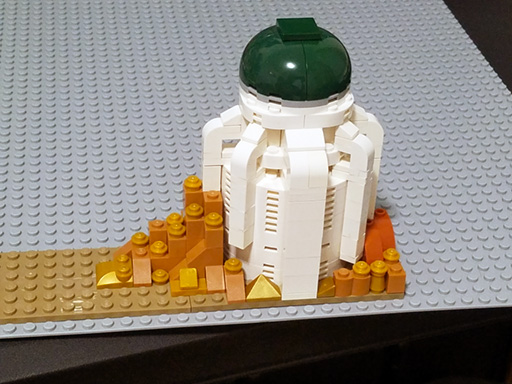
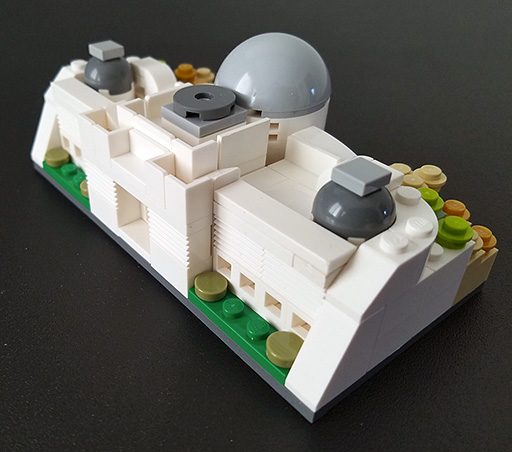
This is the back side where the main dome is. I had to come up with a clever build method using curved bricks and planning for the gap space in order to angle the 45 degree arches. Here I’m also planning and testing the landscape bricks to better simulate the hillside around the building as the build gets fleshed out.
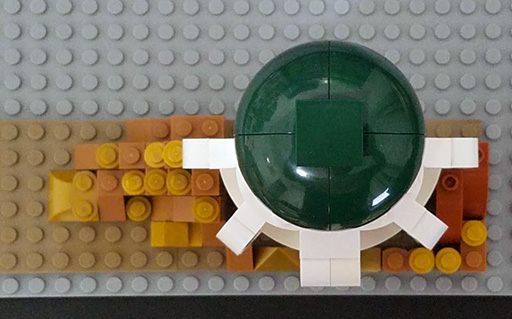
Top view of the back dome mid-progress.
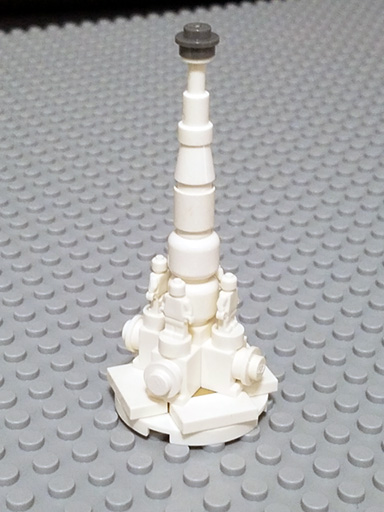
This is what I worked up for the statue in the front of the building. The real statue has 6 figures/sides but that was fairly impossible to do at this scale so I stuck with 4 and designed it to be as visually similar as possible.
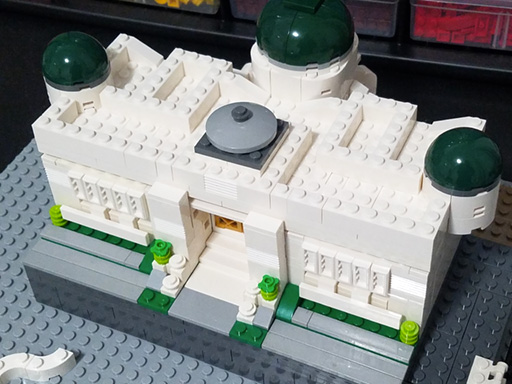
This is the near-finished main building. The front is not as representative as the real building as I would like – there’s not enough photo reference online to get that exactly right and I haven’t had time to make a visit for my own photo reference. The roof needs a little more adjustment as well. Side with the slopes/stairs is not done yet – I have to buy more curved & circular parts.
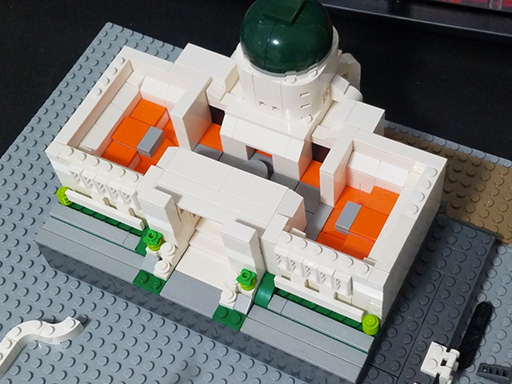
I was going to just design it as an exterior-only building but decided mid-build to make the roof removable and show at least a basic interior that structurally matched the real building without going overboard in detail (plus it gave me an excuse to use a lot of my orange tiles!) Still trying to figure out how to hinge the roof – if I can’t figure something clever out there I’ll go full tiles around the periphery and just allow the roof to sit tight on the top but be able to easily be lifted off.
This build is being done differently than my smaller builds, which makes it difficult to adjust easily as it gets fleshed out. It’s also a difficult build to do in 3D software for planning. It may turn out to be mostly a learning process which gives me ideas for a 2nd build attempt that captures the essence of the building much better with less build complexity.
While this build is still in process, I put together a micro build version.
Here are some ideas I’d like to try out:
I didn’t know what I was building when I started, I just started putting a base together and see what came to mind.
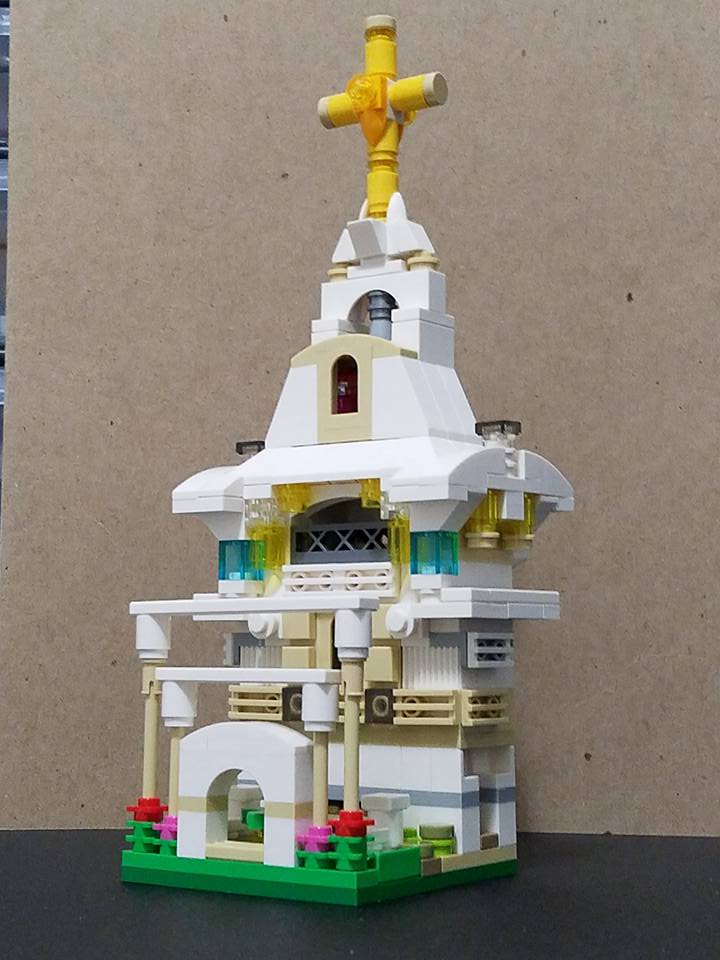
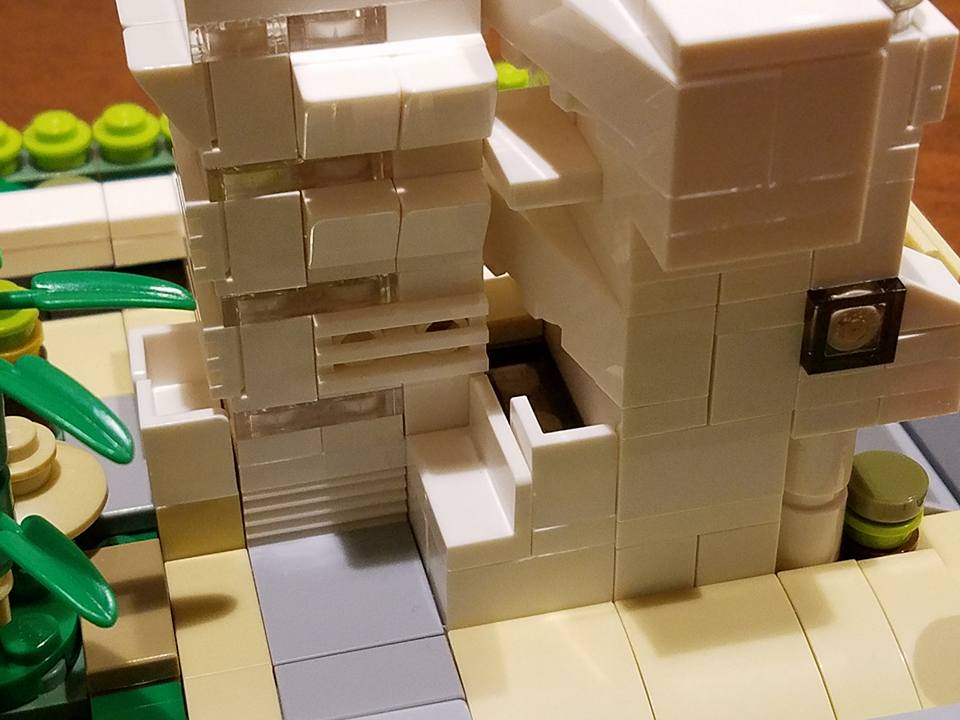
As I built the base I kept changing it around as I thought of different things to do until it seemed to be forming a church-like structure.
Back side – there is a side entrance visible here.
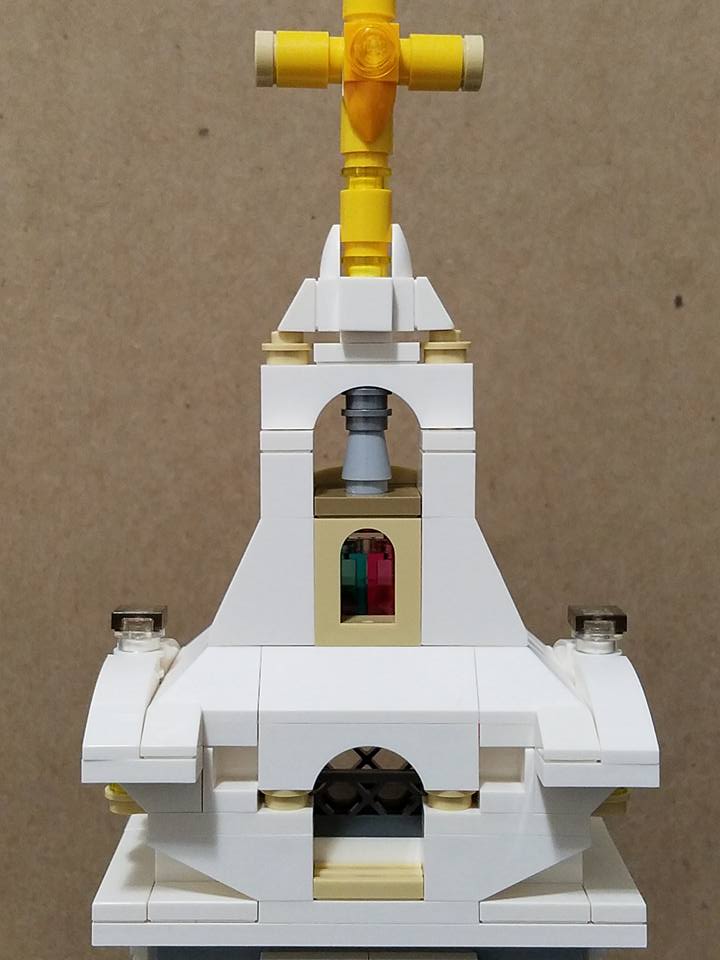
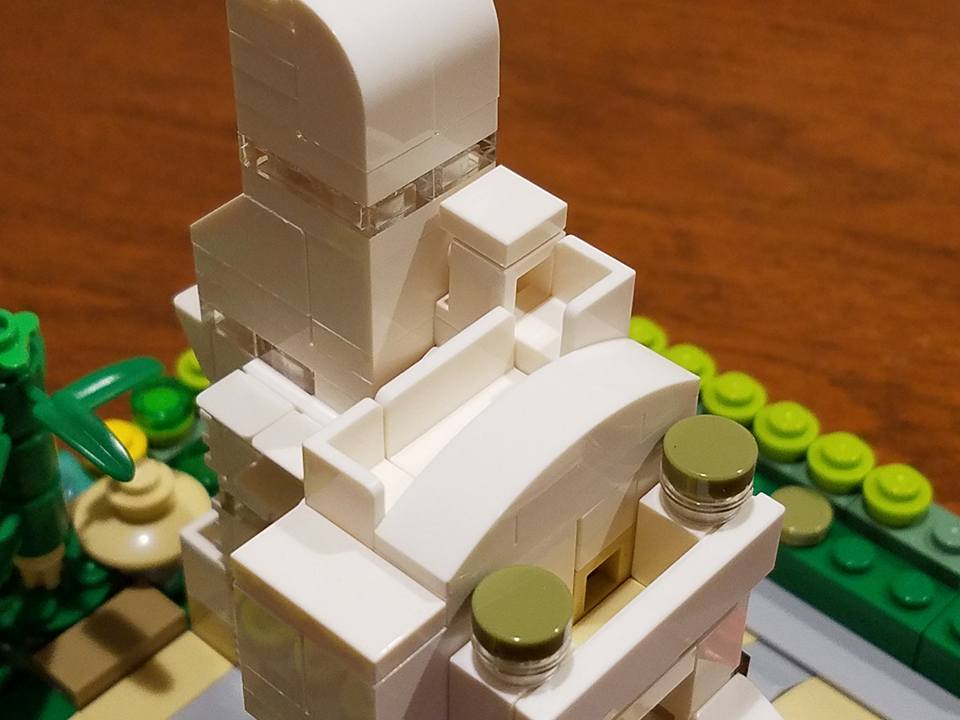
Close-up of top of back side. A terrace area is visible near the top. A tower bell. Stained glass room beneath.
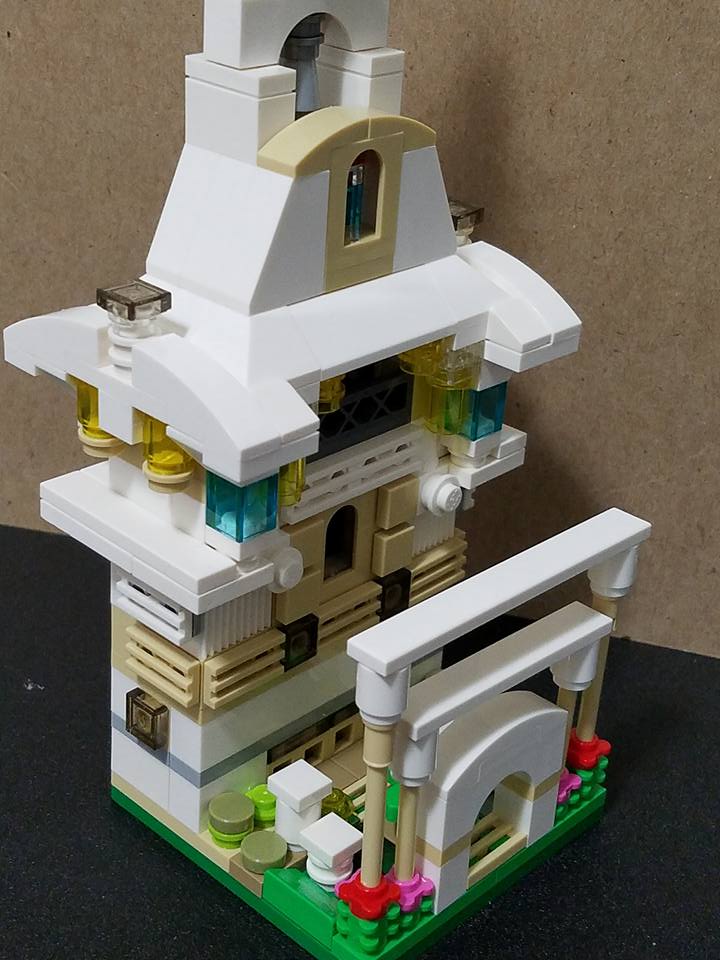
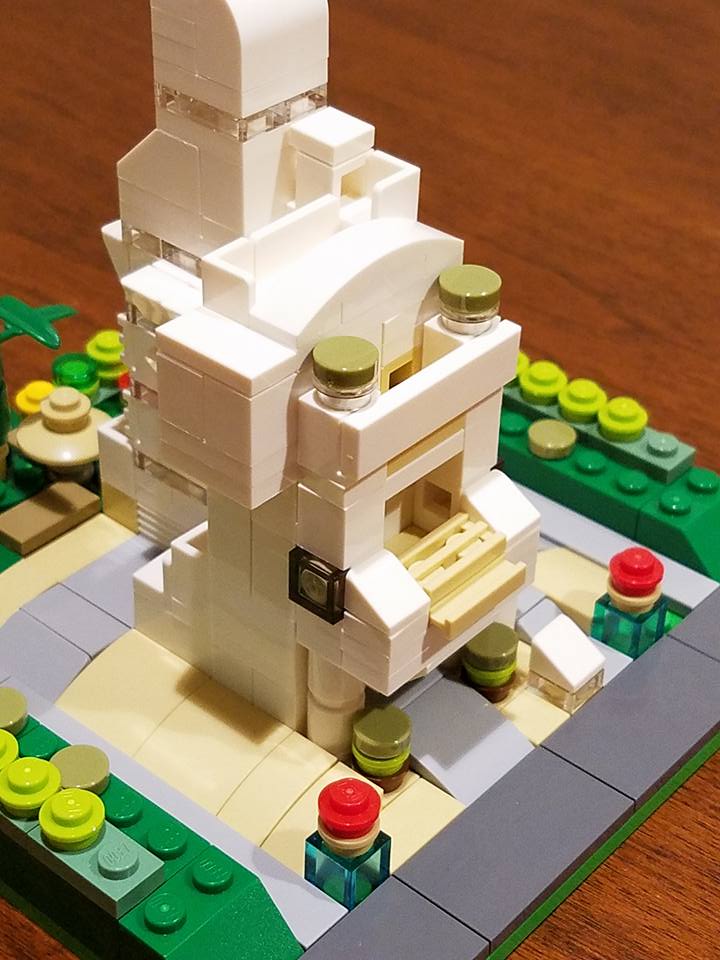
Angle from the top, to be able to see the entrance treatment and garden & side columns.
Here is a small luxury apartment complex model I built. No planning on it, I just kept putting pieces together, taking them out, then back in until it became what I wanted it to be.
This is the front of the apartment complex. Garage entrance between the 2 green posts. Mezzanine above entrance, upper level deck above that, with an open rooftop for tenants.

Back of complex. Here the tenants’ patios can be seen with the penthouse having extra patio space. Pool area is visible between the garage and main dwelling structure. Back garage exit is visible here as well.

On the side of the front can be seen the dual entrances to the main lobby as well as a direct foot entrance to the garage. A second side garage entrance and exit is visible here as well.
A better view of the pool/lounge area between structures is visible here.
A better view of the open rooftop is here. An observation area is also visible here at the highest point of the building.
Additional side view.
View from a distance
Helicopter view
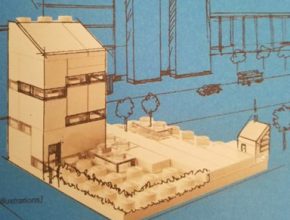
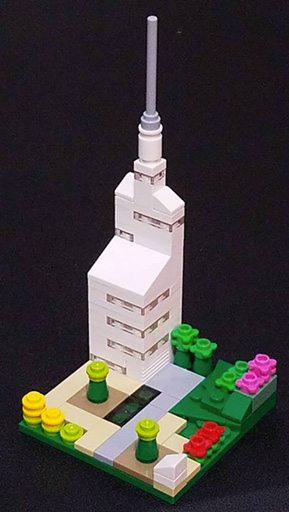
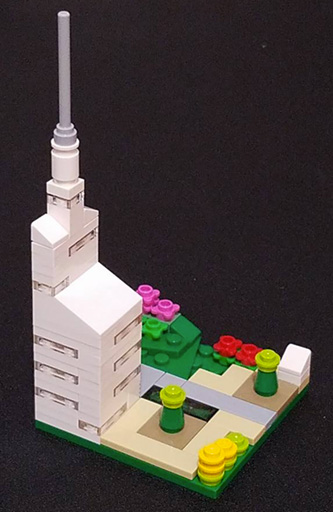
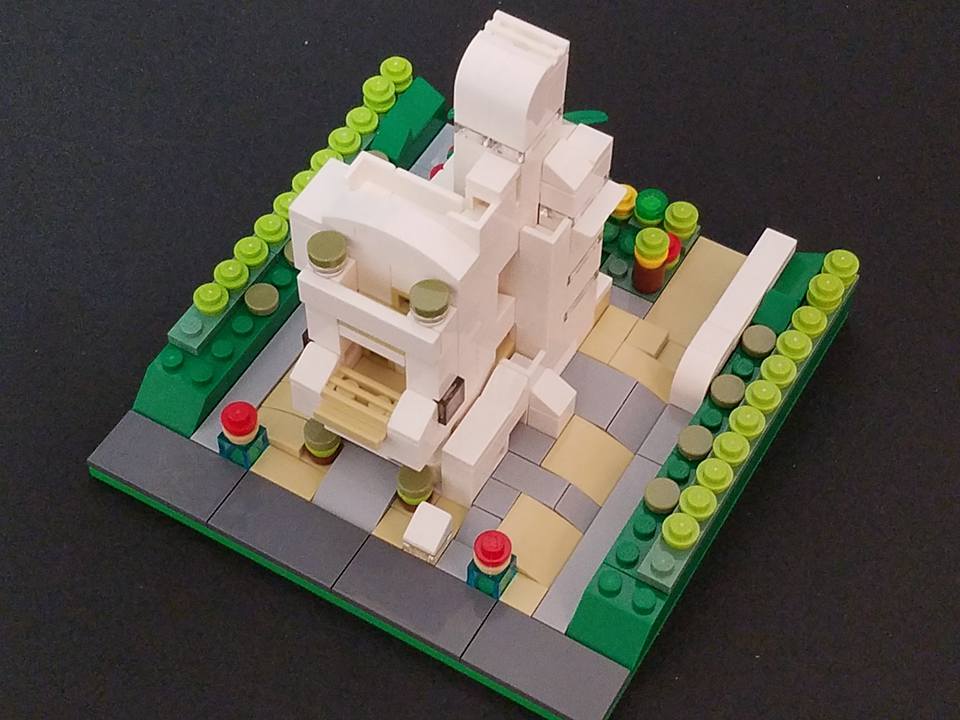
Here is a quick and simple build which was inspired by one of the visual examples in the LEGO Architecture Studio set (# 21050). It may be the only build example I show where I emulated something heavily, but I’ll share nonetheless. I’ve also included the page from the book included with the set which the little build is based on.
Although this is a simple build, it shows how much perceived detail can be simulated with just subtle shapes, contours and colors.